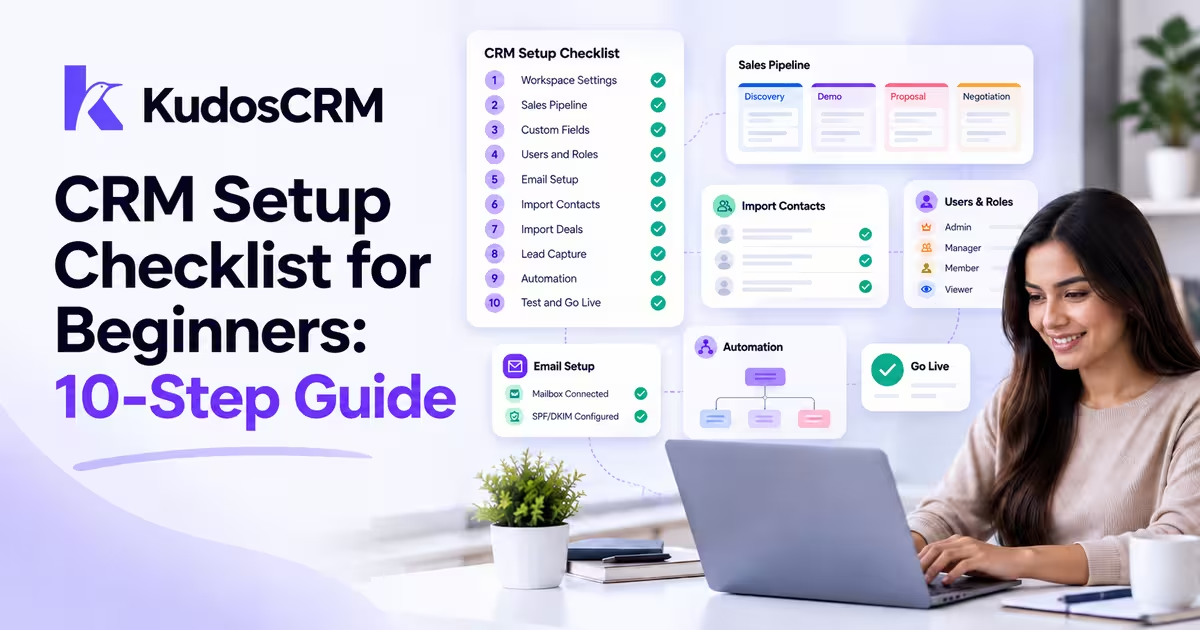

Setting up a CRM is easier when you follow the right order. Start with the settings and structure that later records depend on. Then add your data, email, lead capture, automation, and testing.
This CRM setup checklist is for teams that have already chosen their software and are ready to configure it. It walks through 10 practical steps, from workspace settings to a final go-live test. A small team with clean data may finish the core setup in one focused afternoon. Larger migrations and integrations can take longer.
The goal is not to configure every CRM feature on day one. Build the minimum system your team needs to manage contacts, deals, follow-ups, and customer communication. Add advanced reporting, complex automation, and deeper integrations after the core workflow is working.
CRM Setup Checklist at a Glance
Use this sequence as your working plan. The times are estimates for a small team. Data quality, team size, integrations, and customization can increase the total setup time.
Step | CRM Setup Task | Estimated Time |
|---|---|---|
1 | Set workspace defaults | 10 min |
2 | Build your sales pipeline | 20 min |
3 | Create required custom fields | 15 min |
4 | Invite users and assign roles | 15 min |
5 | Connect and authenticate email | 20 min |
6 | Clean and import contacts and companies | 30 to 60 min |
7 | Import open deals | 20 min |
8 | Connect one lead capture source | 20 min |
9 | Build one starter workflow | 30 min |
10 | Test the CRM before go-live | 15 min |
Estimated total | About 3 to 4 hours |
Before You Start Your CRM Setup
A few decisions should be ready before you start configuring the CRM. You do not need a detailed implementation document. You should know how your team currently sells and what data needs to move into the new system.
Have your current contact or customer file ready. Write down the stages a normal deal passes through. Know who needs access to the CRM and what each person should be able to do. You should also have access to your business email account and domain settings if you plan to send email from the CRM.
Do not spend time designing advanced dashboards or multi-step automation yet. Those features work better after your records, pipeline, ownership, and email setup are stable.
Have Ready | Why You Need It |
|---|---|
Contact/company CSV | For data migration |
Current sales process | For pipeline stages |
User list | For roles and permissions |
Business mailbox | For email sync |
DNS access | For SPF and DKIM authentication |
One real lead source | For capture testing |
One active opportunity | For end-to-end testing |
How to Set Up a CRM in 10 Steps
The order below keeps the basic dependencies in place. Each step prepares the system for the next one. You can adjust the details to match your sales process, but avoid adding complexity before the core setup works.
Step 1: Set Your Workspace Defaults
Set your workspace currency, timezone, and working hours before creating real records. These settings affect how later records and scheduled activity behave across the CRM.
Currency acts as the fallback for money-bearing records that do not already have their own currency. Timezone controls how dates, reminders, scheduled sends, and background jobs are evaluated. Working hours define when the workspace is considered open.
Do this first because changing foundational settings after the team has created data can create avoidable cleanup. The settings can still be changed later. The goal is to make sure your first records start with the correct defaults.
Step 2: Build Your Sales Pipeline
Keep the first pipeline simple. You need enough stages to reflect meaningful changes in the sales process, but not so many that reps stop using them consistently. KudosCRM recommends building stages that mirror how the team actually sells.
A practical example is Discovery, Demo, Proposal, Negotiation, Closed Won, and Closed Lost. Each stage should represent a real checkpoint. It should change how the deal is worked, forecasted, or qualified.
The Naming Rule That Stops Reps Skipping Stages
Name stages after events or conditions that a rep can verify. “Demo booked” is clear because the meeting either exists or it does not. “Interested” is vague because two reps can interpret it differently.
Clear stage names also improve reporting. When each stage has a defined meaning, conversion rates and stalled-deal reports become easier to trust. Required fields and stage rules can then enforce the information you need before a deal moves forward.
Step 3: Create the Custom Fields You Need
Create the fields your team needs before importing real data. If the destination field does not exist, valuable information may be left unmapped or pushed into a notes field that is harder to report on.
A simple rule helps separate contact data from deal data. If the information remains true across multiple opportunities, it usually belongs on the contact or company. If it changes from deal to deal, it usually belongs on the deal.
Contact Fields | Deal Fields |
|---|---|
Lead Source | Deal Value |
Job Title | Expected Close Date |
Phone | Next Step |
Company | Deal Source |
Start with the fields the team will actually use. You can add more later. A smaller, clear data model is easier to adopt than a large set of fields nobody understands.
Step 4: Invite Users and Assign Roles
Invite the teammates who need CRM access. Then assign the correct role before they begin working with live customer data. In KudosCRM, the base roles are Admin, Manager, Member, and Viewer. See Roles and Permissions for the current access model.
Do not assume the default role is right for everyone. Admins need broad control. Managers may need team-level access. Members handle normal CRM work. Viewers need read access without the same editing power.
Test access from a non-admin account before launch. Confirm that the user can reach the records and actions required for their job. Also check that restricted settings or sensitive records remain protected.
Keep permission exceptions limited. Per-user overrides are useful when a real job requirement needs them. Too many exceptions make access harder to understand and maintain.
Step 5: Connect and Authenticate Your Email
Connect the mailbox your team actually uses for customer communication. Then verify domain authentication before bulk or automated sending. Mailbox sync and sender authentication solve different problems, so test them separately.
Email sync controls whether customer conversations appear inside CRM records. SPF and DKIM help receiving mail systems verify that outgoing messages are legitimate. One does not replace the other.
Connect the Mailbox
Gmail and Outlook connect through their normal provider sign-in flows. IMAP is the general option for other mail hosts. Current KudosCRM behavior is explained in Connect a Gmail, Outlook or IMAP mailbox.
Gmail, IMAP, and Outlook can all sync and backfill existing mail. Their sending behavior is different. Gmail and IMAP can send from inside KudosCRM. Outlook currently syncs and backfills, but it does not send from inside the CRM.
Test sync and sending separately. Open a contact you have already emailed and confirm that the thread appears on the timeline. Then send one real test message from inside a record if the connected provider supports sending.
SPF and DKIM in Plain English
Authenticate your sending domain before you rely on bulk or automated sending. SPF and DKIM help receiving mail systems verify that messages from your domain are legitimate.
Authentication improves deliverability, but it does not guarantee inbox placement. Sender reputation, complaint rates, sending volume, and engagement still matter. Google requires SPF or DKIM for all senders to personal Gmail accounts. Senders exceeding 5,000 messages per day to Gmail accounts must use SPF, DKIM, and DMARC.
For current sender requirements, review Google Email Sender Guidelines.
Step 6: Clean and Import Contacts and Companies
Do not treat the import as a simple upload. The important work happens before the file is committed. Clean the source data, create the destination fields, map each column, and review the preview carefully.
There is no universal five-column minimum for a contact import. The fields you need depend on how your team will use the records. However, several columns make matching, personalization, and account linking much easier.
CRM Data Import Checklist
Check Before Import | What to Review |
|---|---|
Email addresses | Missing or invalid values |
Names | Split first and last name correctly |
Company names | Standardize spelling |
Phone numbers | Use a consistent format |
Duplicates | Remove obvious duplicates |
Custom fields | Make sure destination fields exist |
Owners | Confirm valid CRM users |
Test batch | Import a small sample first |
Email deserves special attention. KudosCRM duplicate matching leans heavily on the email field. Map it carefully before committing the file. See Import your existing contacts and companies for the current import flow.
Clean obvious formatting problems before the import. Standardize company names, fix clearly invalid email addresses, and make phone formats consistent where practical. You do not need to manually remove every overlap with records that already exist.
KudosCRM matches overlapping imports instead of blindly creating duplicates. Contacts and companies are simplest to import as separate files because each record type gets its own mapping.
Review the preview before committing the full file. A bad mapping is easy to fix before the import runs. After the import, review failed rows and correct them instead of ignoring partial errors.
Step 7: Import Your Open Deals
Import active opportunities after the pipeline and deal fields are ready. This gives every open deal a clear destination for its stage, owner, amount, close date, source, and other required values.
Your old stage names may not match the new pipeline. Create a simple translation map before uploading the file. Preserve useful historical information in a notes or migration field instead of forcing old labels into the new pipeline.
Old Stage | New CRM Stage |
|---|---|
Initial call | Discovery |
Demo scheduled | Demo |
Quote sent | Proposal |
Waiting for decision | Negotiation |
If speed matters, focus on open deals for the first go-live. Closed history can be migrated later if reporting, retention, or audit requirements need it. This keeps the first rollout focused on work the team still needs to act on.
Step 8: Set Up One Lead Capture Source
Connect one real lead source before trying to integrate every channel. Pick the route that already matches how prospects reach your business.
KudosCRM supports forms, booking links, an existing website form, CSV, chat, and the API. Start with one path and test it. See Capture your first lead for the available routes.
New leads can also carry source, medium, and campaign information. That gives you attribution from the beginning instead of asking reps to remember where each inquiry came from.
Test the route from the prospect side. Submit the form, book the meeting, or send a sample record through the selected source. Then confirm that the lead appears with the right fields, source information, and owner.
Step 9: Build One Starter Workflow
Automate one clear process before building several workflows. The first automation should have an obvious trigger, one predictable result, and an easy way to test it.
Do not build automation just because the CRM offers it. Start with a manual process the team already understands. Then automate the repetitive action that follows a clear event.
Deal stage moved to Proposal -> create a follow-up task. The rep gets a clear next action instead of relying on memory.
Deal won -> create onboarding work. Create a kickoff task or project when the deal reaches Closed Won.
Form submitted -> assign or route the new lead. Give the inquiry an owner as soon as it enters the CRM.
KudosCRM supports event triggers such as deal created, deal updated, stage moved, deal won, deal lost, form submitted, and other record events. Review Triggers, conditions and branches before choosing your first trigger.
Scheduled cron triggers are still shown as coming soon in the current product documentation. Build the first workflow around an event that already fires today.
Before enabling the workflow, dry-run it. Then run one real test. If the workflow sends email or changes customer records, compare the result with what you expected before the team depends on it.
Step 10: Test the CRM From Lead to Closed Deal
Before launch, create one test opportunity and take it through the full workflow. This is the fastest way to find settings that look correct in the admin screen but fail during real use.
Use the test to check ownership, stage movement, automation, email logging, permissions, and closing behavior in one pass.
Create the test deal and confirm that it lands in the first stage with the right owner.
Advance it a stage and confirm that the follow-up task or workflow action runs.
Email the test contact and confirm that the message appears on the record timeline.
Log in with a non-admin account and confirm that its access matches the permissions you configured.
Mark the deal Closed Won and confirm that it leaves the open pipeline or forecast as expected.
If something fails, fix it before the team treats the CRM as the system of record. This is the cheapest time to correct the setup.
CRM Configuration Checklist: What to Set Up Now vs Later
A CRM does not need every feature configured before the team can use it. The first goal is a trusted system for active contacts, deals, ownership, and follow-up. Configure the basics first, then add features that depend on reliable data.
Configure Before Go-Live | Configure After Go-Live |
|---|---|
Workspace defaults | Custom dashboards |
One sales pipeline | Advanced reporting |
Essential fields | Additional pipelines |
Roles and permissions | Complex permission exceptions |
Email connection | Multiple sending providers |
Core contact data | Full historical archive |
One lead source | Additional channels |
One workflow | Multi-step automation |
Basic views | Advanced scoring |
End-to-end testing | AI-assisted workflows |
Delay features that depend on reliable data. Advanced reports are only useful after the underlying fields are populated consistently. Complex automation is safer after the team has used the manual process long enough to understand where automation actually helps.
The same rule applies to multiple pipelines, custom dashboards, advanced scoring, and AI-assisted workflows. Add them when the team has a real use case. Do not add them because the feature exists.
CRM Onboarding Checklist Before Your Team Goes Live
CRM setup prepares the system. CRM onboarding prepares the people who will use it. Do both before you declare the rollout complete.
Train users around the work they perform every day. A sales rep should know how to find a contact, update a deal, create the next task, work email, and close an opportunity. They do not need to understand every admin feature on day one.
Onboarding Check | Complete When |
|---|---|
Users invited | Every active user can sign in |
Roles assigned | Access matches each person's job |
Pipeline explained | Reps understand what each stage means |
Required fields explained | Reps know what must be updated |
Email connected | Customer correspondence appears correctly |
Lead ownership explained | Everyone knows where new leads go |
Workflow explained | Users understand what happens automatically |
Test record completed | Each user can work through the basic flow |
Help route shared | Users know where to ask for support |
Keep the onboarding session practical. Ask each user to complete one real task in the CRM instead of only watching a demo. That can include updating a deal, creating a task, checking an email thread, or working a test lead.
Common CRM Setup Mistakes to Avoid
Importing Data Before Your Fields Are Ready
If the destination fields do not exist, useful values can be dropped, mis-mapped, or pushed into notes. Create the important contact, company, and deal fields first. Then map the source file against those fields before committing the import.
Giving Users the Wrong Permissions
Check each user's base role and any user-level overrides. Test access from a non-admin account before launch. Do not rely only on the admin screen. Confirm what the user can actually see and change.
Confusing Email Sync With Email Authentication
Email sync controls what appears on CRM timelines. SPF and DKIM help authenticate outgoing email. Fixing one does not automatically fix the other. Test mailbox sync and sending separately.
Building Too Much Automation on Day One
Complex workflows are harder to debug when the underlying data and process are still changing. Start with one event-driven workflow. Dry-run it, test it live, and add more automation after the team trusts the base process.
Skipping the End-to-End Test
A test deal exposes problems that individual settings pages can hide. Run one realistic record through ownership, stages, email, automation, permissions, and closing before the CRM goes live.
Final CRM Go-Live Checklist
Before you announce the CRM to the team, confirm that the core setup works as one connected system. Use this checklist as the final acceptance test.
Workspace currency, timezone, and working hours are correct.
Pipeline stages match the real sales process.
Required contact, company, and deal fields exist.
Users have the correct roles and permissions.
Mailboxes are connected and tested.
Sending-domain authentication is configured.
Contacts, companies, and open deals are imported correctly.
One lead source creates records with the right source and owner.
One starter workflow passes both dry-run and live testing.
One test deal completes the full workflow from creation to Closed Won.
Frequently Asked Questions About CRM Setup
How Long Does It Take to Set Up a CRM?
A small team can often complete the core workspace configuration in a few focused hours if the sales process is simple and the data is already clean. That includes basic settings, one pipeline, roles, mailbox setup, imports, one lead source, one workflow, and testing.
A full CRM implementation can take much longer. Large migrations, custom integrations, complex permissions, multiple pipelines, reporting requirements, and user training all add time. Treat the timeline in this checklist as a small-team setup estimate, not a universal implementation promise.
What Should I Configure First in a New CRM?
Start with workspace defaults, your sales pipeline, and the essential fields your records need. Then configure users, email, data imports, lead capture, and automation.
Finish with an end-to-end test before go-live. This order gives later records and workflows a stable structure to build on.
Should I Import Contacts Before Building the Pipeline?
Contacts do not depend on sales pipeline stages, so you do not need to delay a contact import only because the pipeline is unfinished. However, build the contact fields you need before importing so the data maps into the right places.
Deals are different. Build the pipeline before importing open deals so old stages can be mapped into the new ones. This also gives amounts, close dates, sources, and other opportunity fields the right destination.
How Many Pipeline Stages Should a Beginner Use?
Start with enough stages to represent real changes in the sales process. Five to seven is a useful starting range for many teams. A simple example is Discovery, Demo, Proposal, Negotiation, Closed Won, and Closed Lost.
Do not add stages just to make the pipeline look detailed. If two stages do not change forecast probability, rep behavior, or the next action, they may not need to be separate.
What Should Be Included in a CRM Data Import Checklist?
Review email addresses, names, company names, phone formats, duplicates, owners, and custom-field mappings before the import. Make sure the destination fields already exist.
Run a small test batch when the file is large or unfamiliar. Review the import preview and fix mapping errors before committing the full dataset.
Do I Need Technical Skills to Set Up a CRM?
Most basic CRM setup does not require code. You can configure workspace settings, pipelines, fields, users, imports, forms, and simple workflows through the product interface.
Some tasks still require technical access. Domain authentication needs access to DNS settings. Complex integrations, large migrations, APIs, or custom data models may also need technical support.